Contents
Introduction
In the world of e-commerce, keeping your financials in check with your sales data is crucial for business success. Integrating QuickBooks with Shopify can streamline your accounting, making it easier to manage your finances and inventory in one place. This guide will walk you through the steps to connect QuickBooks with your Shopify store, ensuring you get the most out of your e-commerce and accounting platforms.
Prerequisites
Before you begin the integration process, ensure you have the following:
- An active Shopify store.
- A QuickBooks Online account.
- Administrative access to both platforms.
Benefits of Integration
Integrating QuickBooks with Shopify brings several benefits, including:
- Automated Bookkeeping:
- Real-Time Inventory Management:
- Financial Reporting:
Step-by-Step Integration Guide
Step 1: Install the QuickBooks App
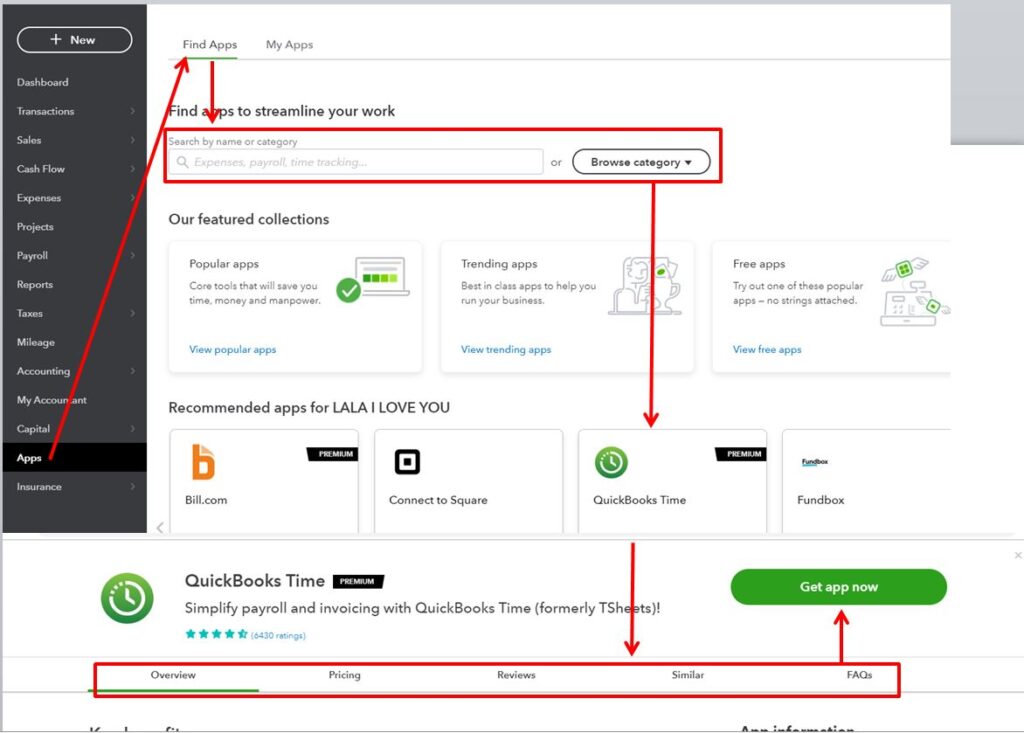
1. Navigate to the Shopify App Store:
- Open your web browser and log into your Shopify store.
- Click on ‘Apps’ on the left sidebar, then select ‘Visit the Shopify App Store’.
2. Search for QuickBooks:
- Use the search bar at the top of the page and type in “QuickBooks.” Press enter to search.
3. Choose the Correct QuickBooks App:
- Select the app that corresponds to your QuickBooks version (e.g., QuickBooks Online). Click on it to view more details.
4. Install the App:
- Click on ‘Add app’ and confirm your installation by following the on-screen instructions.
Step 2: Connect Your Accounts
1. Open the QuickBooks App in Shopify:
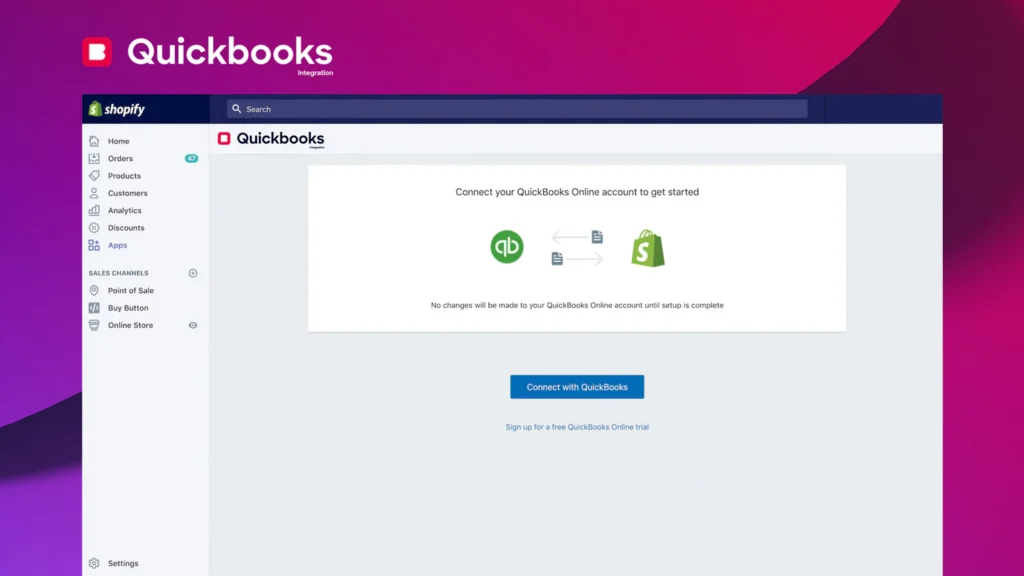
- Go back to your Shopify admin panel, click ‘Apps’, and then select the QuickBooks app you just installed.
2. Start the Connection Process:
- Inside the app, look for an option like ‘Connect to QuickBooks’ or ‘Get Started’ and click it.
3. Authorize Access:
- You will be redirected to a QuickBooks login page. Enter your credentials and then authorize the app to access your QuickBooks account by agreeing to the terms provided.
Step 3: Configure Your Settings
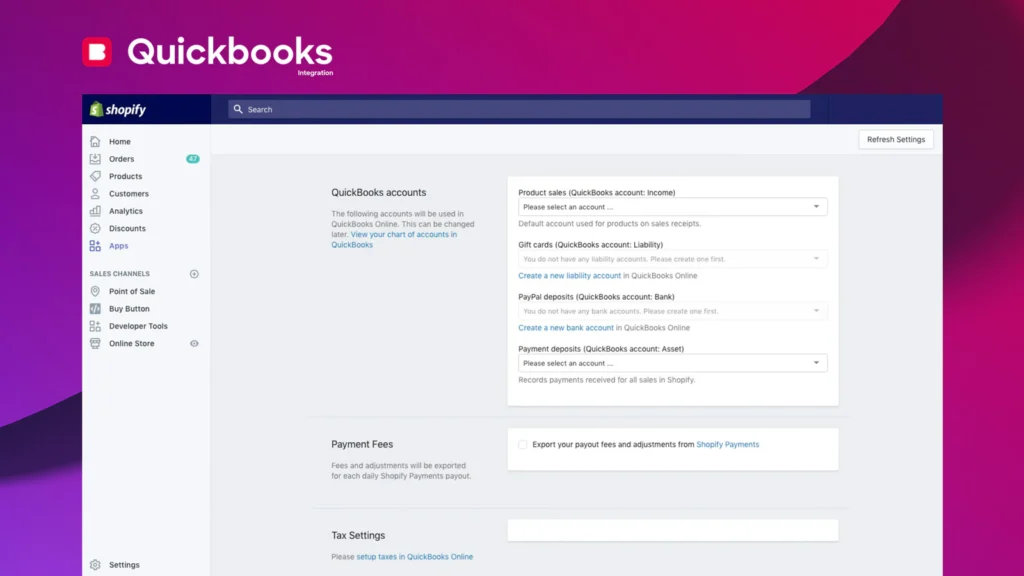
1. Set Up Data Sync Preferences:
- Once connected, you will be asked to configure how your data syncs. This typically includes:
- Sales Data: Decide if you want to sync individual transactions or daily summaries.
- Tax Settings: Map your tax rates between Shopify and QuickBooks to ensure accuracy.
- Inventory Management: If you manage inventory, set up how you want your inventory tracked and updated.
2. Customize Additional Settings:
- You might have options to sync customer data, shipping details, and payment methods. Review each section and adjust according to your business needs.
Step 4: Sync Your Data
1. Initiate the First Sync:
- Click a button typically labeled ‘Sync Now’ to start the initial data transfer. This might take some time depending on the amount of data.
2. Verify Sync Completion:
- Once the sync is complete, you’ll receive a notification. It’s essential to check the first sync’s accuracy by comparing entries in both Shopify and QuickBooks.
3. Set Up Ongoing Sync: Configure ongoing sync settings if available. You can choose to have the data sync automatically at regular intervals or manually initiate it as needed.
Troubleshooting Common Issues
- Connection Errors: Ensure both Shopify and QuickBooks accounts are active and the internet connection is stable.
- Data Mismatch: Regularly check the data entries for accuracy in both Shopify and QuickBooks.
- Sync Delays: Large data volumes can cause delays. Schedule syncs during off-peak hours.
Use Cases
Many businesses have benefited from this integration. For example, a mid-sized clothing retailer managed to reduce its bookkeeping time by 30% and improved inventory accuracy by syncing their Shopify sales with QuickBooks Online.
Conclusion
Integrating QuickBooks with Shopify can significantly enhance your business operations by automating crucial tasks like accounting and inventory management. By following this guide, you should be able to set up the integration smoothly and start seeing the benefits immediately.
Call to Action
If you encounter any complex issues or need personalized assistance with integrating QuickBooks with Shopify, contact NestedFor’s expert team. We’re here to help you optimize your business processes and ensure seamless integration.

